Happy Lunar New Year!  2015 is the year of the goat..or is it the ram..or is it the sheep? The Chinese word for goat means ram and sheep a...

Chuc Mung Nam Moi

Happy Lunar New Year! 

2015 is the year of the goat..or is it the ram..or is it the sheep? The Chinese word for goat means ram and sheep as well.  Of the 5 elements, earth, fire, metal, wood, and water, this is the year of the wood goat.  

The Goat is probably the most artistic of all the twelve animals with a big passion for theatre, literature, music or art. They are natural creators and are rarely happier than when they are occupied in an artistic pursuit. As well as having a passion for art they can also be quite religious people and often have a deep interest in nature, animals and the countryside. - Feng Shui Store

This year I decided to make red envelopes for my family and it went amazingly!  It was 3 days of cutting, scoring, and gluing; it was quite relaxing even after a long day of work.  I'll cut this short and insert the images:

I wanted to stick to original envelope sizes to keep things familiar

These envelopes open out with a pocket for mullah and space for text

I have a collection of super old gel pens that barely work, the new gold metallic Uniball one I got was amazing to work with!


Happy Crafting!

Read this tutorial on my new website and store! Ballerina Tealight Cake Tutorial HI GUYS! I'm so excited to share this tutor...

Ballerina Tealight Cake Tutorial

Read this tutorial on my new website and store!


Ballerina Tealight Cake Tutorial


HI GUYS! I'm so excited to share this tutorial because it's the first tealight cake design of 2015.  I featured 2 of my new designs and will be making a tutorial for the Spectre cake soon enough.  But let's jump into it.

Materials

Coloured papers (4 shades)
Cake template
LED tealight candle
Scissors
Ruler
Glue gun
Jewel stickers
Paper Trimmer (optional)

Paper Prep

Begin with an 8.5x11" of the coloured paper. Cut in half lengthwise to give 2, 4.25x11".  Then cut it along the 11" side into 0.5" strips, this gives you strips that are 0.5x4.25".  You will need 14-16 strips.

Roses


Take your strip and fold the corner into an acute triangle.  Fold the triangle in on itself along the inside edge.  Fold the working end back on itself.

 Then fold the triangle in half, this acts like a spindle.

 Begin rolling the the spindle into the working end until you reach the end of the fold.


Fold the working end back on itself, like before.


Continue rolling and folding the working end until you reach the end of the strip.  Add some glue and secure into place.

Assembly

Attach the face and side pieces to your tealight candle.

Place glue on the back of the rose and glue it onto the cake starting from the bottom with the darkest shade.

Add some bling stickers to the top of the candle.


Happy Crafting!

That's right, you heard it right! You can make yourself a marquee sign for less than $5 just by following my tutorial.  I know there ...

Marquee Sign for less than $5!!!


That's right, you heard it right! You can make yourself a marquee sign for less than $5 just by following my tutorial.  I know there are some marquee signs you can buy for $25-200, but this is how to do it on a budget

Materials

Bristol board ($1 for 2, only need 1)
Battery operated LED lights ($3)
Pencil
X-acto knife
Ruler
Glue gun
Elmer's glue
Water
Paint brush
Paint
Newspaper scraps

I spent a total of $4 on supplies, everything else I had at home.


Drafting your design


Get your base shape ready.  This is what your marquee sign will look like.  I used a pixel heart that measures 12x13 inches, each pixel measures 1 inch.

You can use anything you want, try a letter, an arrow, or even an outline of your favourite Disney character!

Draw your base shape onto your bristol board and cut your it out with tabs around all the edges.  If you are using the pixel heart template, this is how I did it.

With the remaining bristol board, cut out strips 3 inches wide and mark the 1.5 inch mark (this is reference to attach to the tabs).  You'll need enough to cover the perimeter of your base shape.

LED Holes


Depending on the amount of lights you have in your package, punch out the holes accordingly.  Mine came with 20 strung lights so I marked 20 spots around my base shape.  I made a small hole with a thumb tack before slitting it with an X using my x-acto knife and pushing a paint brush through the hole. I know it sounds tedious, but doing it like this ensures you don't split your paper when you push your lights in. At this point I tested the fit of the lights to see how it looked.


This is where I realized that the lights would have to be secured into place or else they look a bit wonky.

Assembly

Before you glue the side pieces to your base shape, you want to score along the length to fit your shape.
My 3 inch sides were approximately 12 inches in length.  Following the animation I scored at: 1, 2, 3, 4, 5, 6, 9, 10, 11 for the first section.  After that, I scored half an inch at the beginning and ends of the strip to attach to the previous side panel. So my next piece would be scored at: .5, 1,5, 5.5, 6.5, 7.5, 8.5, 9.5, 10.5, 11.5.  Since the last piece as the extra half inch over hang, my next piece wouldn't need it.

If you are using a shape with curves like the letter D, score at a corner then wrap your base shape along the strip until you reach another corner, make a mark and score at that point.

Align your base shape along the side panel. Remember the line we marked at 1.5 inches? That's where you want to line up your base shape.

Paper Mache

Mix your Elmer's glue with water until it is a milky consistency.  Throw in your newspaper scraps and let them soak, this makes it easy to work with.  Squeeze out the excess water and start pasting it onto your shape.  Let it dry over night.

Finale

Paint your shape and let it dry.  Re-punch the holes you made for your LED lights.  Insert the lights and glue them into place.  Glue the battery pack with the cover facing up.


Happy Crafting!

HAPPY NEW YEAR! From me to you, I would like to wish you a prosperous and productive new year.  It's not "new year new me...

New Tealight Designs


HAPPY NEW YEAR! From me to you, I would like to wish you a prosperous and productive new year.  It's not "new year new me", it's all about "new year BETTER me".  Always keep growing at the thing you are doing :)

So it feels like forever ago since I've filmed, and with a new office set up it just felt right to bust out my camera and share what I've been up to.


This is something that has been brewing in my mind for awhile now and I finally put pen to paper to draft the design.


Trying out a new set up with my very MacGyver-ed camera rig.  I duck taped my tripod to a coat rack and used a fold out chair as counterweight..you do with what you have!


I call this cake the Specter, named for the devilishly handsome Harvey Specter of Suits. Like hello!


I call this cake the ballerina, the roses are so big and flufy just like a ballerina tutu.  TBH though it really reminds me of a quiescence dress.


Happy Crafting!

READ THIS ON MY NEW WEBSITE! I'm never one to jump onto the bandwagon when things first begin to catch steam (maybe because I...

CCC - DIY Washi Tape Ornaments

READ THIS ON MY NEW WEBSITE!


I'm never one to jump onto the bandwagon when things first begin to catch steam (maybe because I'm rebellious against change or, I'm just slow at catching onto trends...maybe a bit of both).  The washi tape revolution had no impact on me.  I admire the very pretty print of the tape but never seen any practical use for it.  Even after watching plenty of tutorials using washi tape, I couldn't reason paying $3-5 for a roll of patterned tape.

Well all things changed on one windy and cold day when D and I decided to check out a craft fair.  After sleeping through the first fair we wanted to attend, this was the one that popped our cherry.  I have to admit, it did not live up to our expectations.  It was held in the corridor of a library with no more than 10 tables.  We did a walk through once and decided to come back after heading to Michaels.  On our return, we were more open minded to checking out what each table had to offer.  I bought handmade soaps, we met a really kind woman making kindle holders from recycled books, and finally we stopped by a table that had caught my attention the first walk through.

There is something about origami that holds a spot in my heart - it must be because I was obsessed with paper folding as a kid.  I grew tired of making the same old cranes and flowers all the time but was way too intimidated to try the harder projects.  Well back to the story, Sam was the young woman heading the table.  She sat there, a big smile on her face, hands busy folding what looked to be a butterfly, as she introduced herself us.  She was really into origami and was selling her art for quite a hefty price.  I thought to myself, "Am I was looking at some weird alternate version of myself if I had kept working at my craft?" She was so in love with what she did and she was proud of her work; you could tell just by listening to her recount her experiences of travelling to California to work with Hit Record, leading a flash mob origami mural within the city, or even trying to break a world record for the most origami flower display.  I glanced her table again and these ornaments stood out to me, they weren't traditional origami pieces, nor were they painted or paper machéd. It was washi tape!  She used washi tape to cover glass ornaments - it was quite ingenious and I never seen washi tape used in such a manner.  Well, after exchanging a couple more words, we parted ways.

Fast forward a couple of weeks and I find myself in the dollar store loading up on Elmers decorative repositionable tape - close enough to washi tape for me! (plus it was $1 for 3 rolls - you bet I bought every colour they had :P)  So, I came home, ripped open the tape, grabbed a bag of styrofoam balls I got a couple weeks back, and I head to town recreating Sams washi tape ornaments.


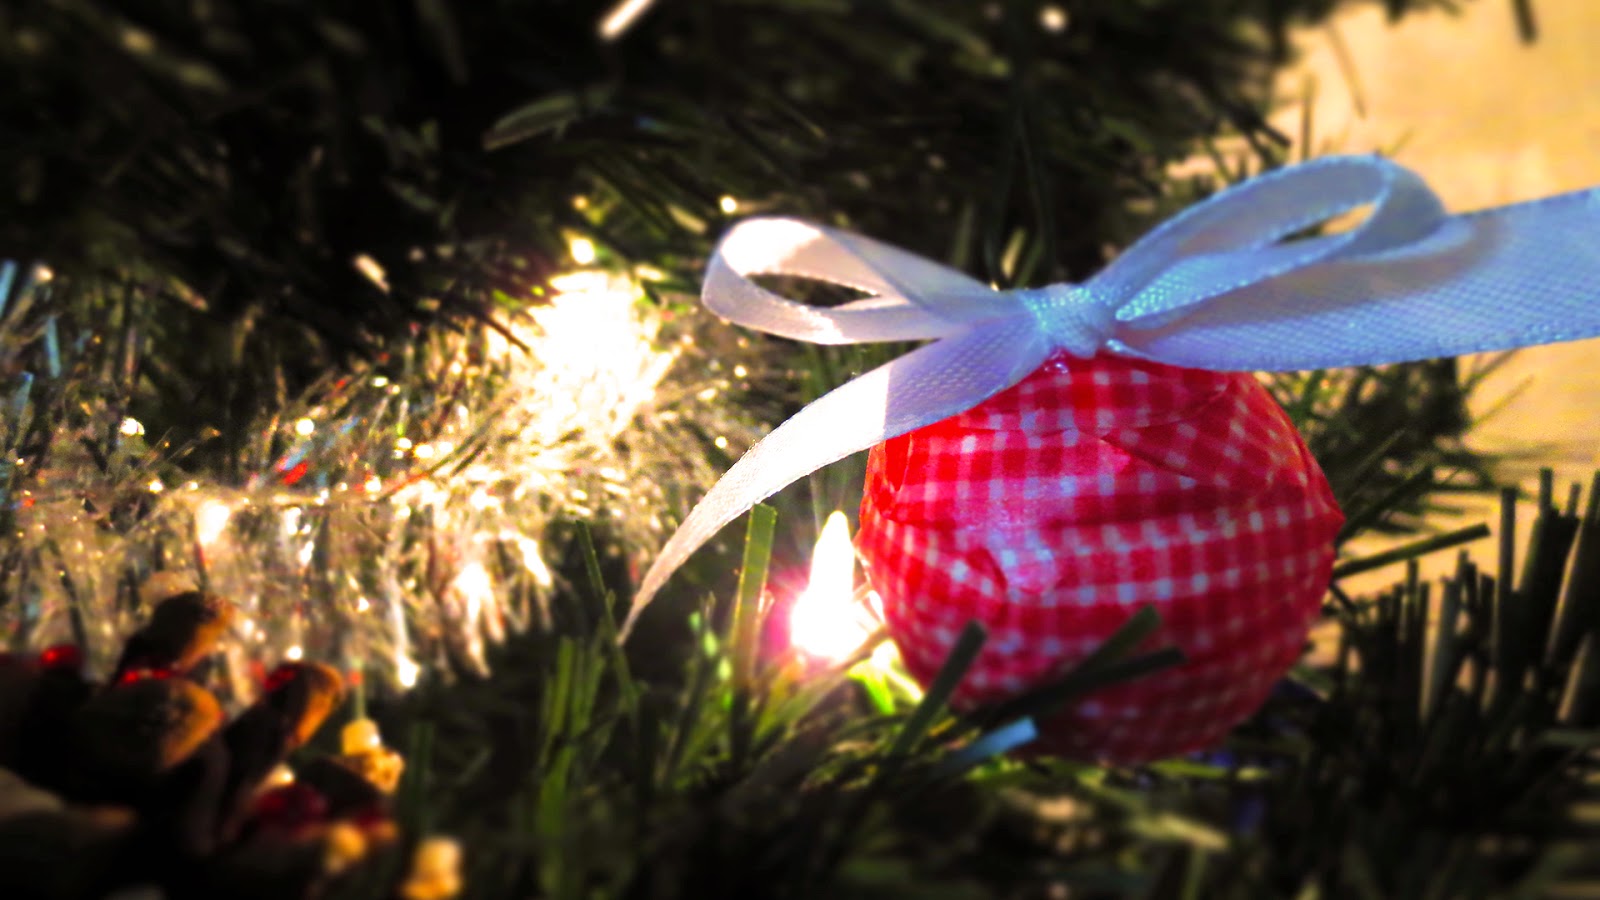
It was real simple once I got the hang of it.  Im not sure whether she made hers the same way I made mine, but her definitely looks a lot better. Regardless, I hung them up on my Christmas tree just this afternoon and they looks magnificent.


You can really see the layers in the second picture.  I think an extra added touch of the bow really makes these ornaments stand out on the Christmas tree.

Happy Crafting!